웹기반 게임을 개발하기 위해서는 다양한 게임 엔진을 사용하는것을 고려해 볼 수 있습니다. 이 문서에서는 Cocos2d-X 를 이용하여 게임을 WEBGL 또는 CANVAS 환경에서 동작하는 게임을 만드는 과정을 설명하려 합니다. 먼저 개발 환경을 설정 할 것이며 Homebrew를 사용하는 맥 환경을 가정할 것입니다. 또한 개발 툴로는 IntelliJ를 사용할 것입니다.
1. JAVA 설치
우리는 Cocos2d-X를 사용하여 웹게임만을 개발할 생각이지만 JSB(Javascript Binding)이라는 기술을 사용하여 JS로 만들어진 게임 코드를 이용하여 iOS/Android 등과 같은 네이티브 게임을 빌드할 수 있습니다. 이러한 준비를 위하여 필요한 모든 것을 설치해 보도록 하겠습니다.
Homebrew를 사용하면 최신버전의 Java를 손쉽게 설치할 수 있습니다.
$ brew cask install java
위와 같은 명령을 사용하여 최신 버전의 Java를 설치할 수 있으며 설치 후 .bash_profile에 JAVA_HOME 환경 변수를 추가해주도록 합시다.
$ echo "export JAVA_HOME=`/usr/libexec/java_home`" >> ~/.bash_profile
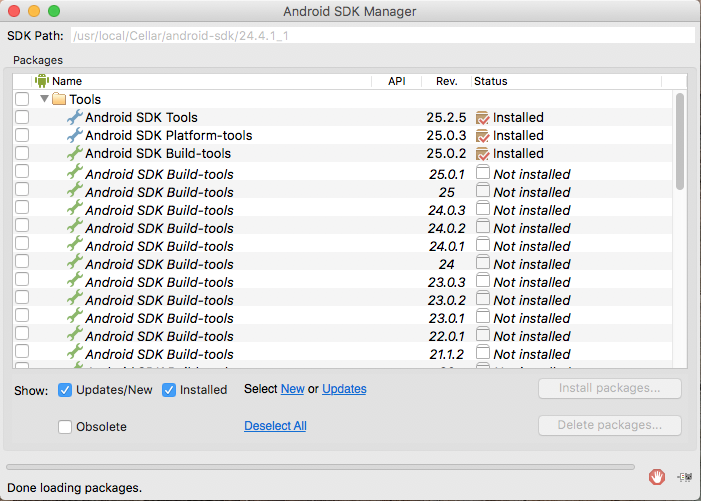
2. Android SDK/NDK 설치
기존에 Android Studio를 활용중이라면 사용중인 SDK를 그대로 사용하셔도 무방합니다만 여기서는 Homebrew를 이용하여 SDK와 NDK를 설치하는 방법을 적어보겠습니다.
$ brew install android-sdk
$ brew install android-ndk
설치가 완료되면 다음의 명령을 사용하여 Android SDK를 업데이트할 수 있습니다.
$ android
이후에 뜨는 화면에서 자신이 빌드시에 사용하고자 하는 필요한 것들을 선택하여 설치를 진행하도록 합시다.
3. Python 및 Ant 설치
마찬가지로 Homebrew를 사용하여 Python과 Ant를 설치해보겠습니다.
$ brew install python
$ brew install ant
다음의 명령을 사용하여 Ant의 환경 변수를 추가해주도록 하겠습니다.
$ echo "export ANT_ROOT="/usr/local/opt/ant/bin"" >> ~/.bash_profile
4. Cocos2d-X 다운로드 및 설치
[Cocos2d-X 공식홈페이지]에 방문하면 최신버전의 Cocos2d-X 안정화 버전을 다운로드 받을 수 있습니다.
이 글을 작성할 시점에는 3.14.1 버전이 최신버전이네요. 다운로드 받도록 하겠습니다.
다운로드가 완료되었다면 압축을 풀고 적절히 원하는 위치에 옮겨놓도록 하겠습니다. 저는 홈디렉토리 밑에 cocos2d-x 디렉토리에 옮겨두었습니다. 이후에 셋업 명령을 실행합니다.
$ ./setup.py

Setting up cocos2d-x...
->Check environment variable COCOS_CONSOLE_ROOT
  ->Search for environment variable COCOS_CONSOLE_ROOT...
    ->COCOS_CONSOLE_ROOT not found

  -> Add COCOS_CONSOLE_ROOT environment variable...
    ->Added COCOS_CONSOLE_ROOT=/Users/dennis/cocos2d-x/tools/cocos2d-console/bin

->Check environment variable COCOS_X_ROOT
  ->Search for environment variable COCOS_X_ROOT...
    ->COCOS_X_ROOT not found

  -> Add COCOS_X_ROOT environment variable...
    ->Added COCOS_X_ROOT=/Users/dennis

->Check environment variable COCOS_TEMPLATES_ROOT
  ->Search for environment variable COCOS_TEMPLATES_ROOT...
    ->COCOS_TEMPLATES_ROOT not found

  -> Add COCOS_TEMPLATES_ROOT environment variable...
    ->Added COCOS_TEMPLATES_ROOT=/Users/dennis/cocos2d-x/templates

->Configuration for Android platform only, you can also skip and manually edit "/Users/dennis/.bash_profile"

->Check environment variable NDK_ROOT
  ->Search for environment variable NDK_ROOT...
    ->NDK_ROOT not found

  ->Search for command ndk-build in system...
    ->Path /usr/local/Cellar/android-ndk/r13b was found

  -> Add NDK_ROOT environment variable...
    ->Added NDK_ROOT=/usr/local/Cellar/android-ndk/r13b

->Check environment variable ANDROID_SDK_ROOT
  ->Search for environment variable ANDROID_SDK_ROOT...
    ->ANDROID_SDK_ROOT not found

  ->Search for command android in system...
    ->Path /usr/local/Cellar/android-sdk/24.4.1_1 was found

  -> Add ANDROID_SDK_ROOT environment variable...
    ->Added ANDROID_SDK_ROOT=/usr/local/Cellar/android-sdk/24.4.1_1

->Check environment variable ANT_ROOT
  ->Search for environment variable ANT_ROOT...
    ->ANT_ROOT is found : /usr/local/opt/ant/bin


A backup file "/Users/dennis/.bash_profile.backup2" is created for "/Users/dennis/.bash_profile".

Please execute command: "source /Users/dennis/.bash_profile" to make added system variables take effect
셋업과정은 별고 없고 필요한 툴들을 찾아서 환경변수 혹은 PATH에 등록해주는것이 주요 목적입니다. 저의 경우에는 .bash_profile에 다음과 같은 환경변수가 등록되었습니다.
# Add environment variable COCOS_CONSOLE_ROOT for cocos2d-x
export COCOS_CONSOLE_ROOT=/Users/dennis/cocos2d-x/tools/cocos2d-console/bin
export PATH=$COCOS_CONSOLE_ROOT:$PATH

# Add environment variable COCOS_X_ROOT for cocos2d-x
export COCOS_X_ROOT=/Users/dennis
export PATH=$COCOS_X_ROOT:$PATH

# Add environment variable COCOS_TEMPLATES_ROOT for cocos2d-x
export COCOS_TEMPLATES_ROOT=/Users/dennis/cocos2d-x/templates
export PATH=$COCOS_TEMPLATES_ROOT:$PATH

# Add environment variable NDK_ROOT for cocos2d-x
export NDK_ROOT=/usr/local/Cellar/android-ndk/r13b
export PATH=$NDK_ROOT:$PATH

# Add environment variable ANDROID_SDK_ROOT for cocos2d-x
export ANDROID_SDK_ROOT=/usr/local/Cellar/android-sdk/24.4.1_1
export PATH=$ANDROID_SDK_ROOT:$PATH
export PATH=$ANDROID_SDK_ROOT/tools:$ANDROID_SDK_ROOT/platform-tools:$PATH
이후에 저기서 말해준대로 source 명령을 사용하여 추가된 환경변수를 적용 하도록 합시다.
$ source ~/.bash_profile
이제 cocos 명령이 정상 동작하는지 테스트를 해봅시다. 최초 실행시에 사용 정보를 자기네들 서버에 전송하는것을 허용할지 물어오는데 저는 No를 선택하였습니다. 어쨌든 문제없이 명령이 실행된다면 준비는 완료된 것입니다.
$ cocos
Cocos collects data when the command-line tools are used for development. This data is examined in the aggregate only and is used to continually innovate and improve Cocos products. This data is anonymous and includes, but is not limited to, a unique hardware identifier, version number our software and information on which tools and/or services in Cocos products are being used and how they are being used. We take your privacy seriously and we do not share or sell any of this data. You can opt-out from sharing this data with us, but by sharing you help contribute to growth of Cocos.

Do you agree to sent the data? [Y]es, [N]o
N

/Users/dennis/cocos2d-x/tools/cocos2d-console/bin/cocos.py 2.2 - cocos console: A command line tool for Cocos2d-x.

Available commands:
	run              Compiles, deploy and run project on the target.
	gen-libs         Generate prebuilt libs of engine. The libs will be placed in 'prebuilt' folder of the engine root path.
	luacompile       Encrypt and/or compile lua files.
	deploy           Compile and deploy a project to a device/simulator.
	package          Manage package for cocos.
	compile          Compile projects to binary.
	gen-simulator    Generate Cocos Simulator.
	new              Creates a new project.
	jscompile        Compile and/or compress js files.
	gen-templates    Generate templates for Cocos Framework.

Available arguments:
	-h, --help			Show this help information.
	-v, --version			Show the version of this command tool.
	--ol ['en', 'zh', 'zh_tr']	Specify the language of output messages.

Example:
	cocos new --help
	cocos run --help
4. 프로젝트 생성
이제 터미널에서 cocos 명령을 사용하여 MyGame이라는 이름의 새로운 프로젝트를 생성해보도록 하겠습니다. 언어(-l)은 js로 패키지명(-p)는 kr.pe.theeye.mygame 으로 설정하였습니다.
$ cocos new MyGame -l js -p kr.pr.theeye.mygame
> Copy template into /Users/dennis/Documents/Project/MyGame
> Copying directory from cocos root directory...
> Copying files from template directory...
> Copying Cocos2d-x files...
> Rename project name from 'HelloJavascript' to 'MyGame'
> Replace the project name from 'HelloJavascript' to 'MyGame'
> Replace the project package name from 'org.cocos2dx.hellojavascript' to 'kr.pe.theeye.mygame'
> Replace the Mac bundle id from 'org.cocos2dx.hellojavascript' to 'kr.pe.theeye.mygame'
> Replace the iOS bundle id from 'org.cocos2dx.hellojavascript' to 'kr.pe.theeye.mygame'
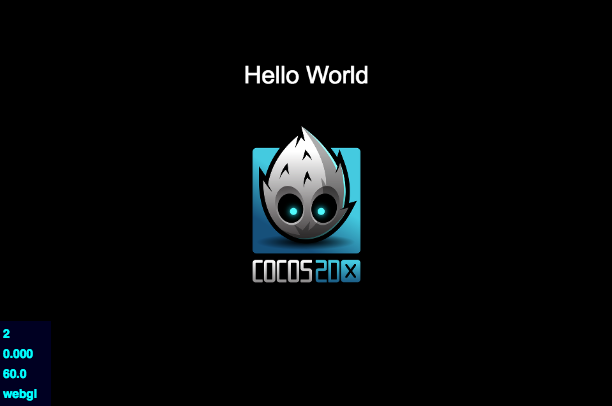
이렇게 하면 프로젝트가 생성되고 프로젝트 디렉토리 내부로 들어가서 다음의 명령을 통해 바로 웹브라우저로 실행해볼 수 있습니다.
$ cocos run -p web
Building mode: debug
Deploying mode: debug
Starting application.
Try start server on 127.0.0.1:8000
Serving HTTP on 127.0.0.1, port 8000 ...
문제 없이 프로젝트가 생성되었다면 다음과 같은 화면을 볼 수 있습니다.
5. IntelliJ를 통해 프로젝트 관리하기
IntelliJ를 이용하여 프로젝트를 관리한다는건 사실 별다른게 있지는 않습니다. 그냥 IntelliJ로 프로젝트를 열면 알아서 자동완성을 포함한 프로젝트 구동에 필요한 모든것이 갖춰지게 됩니다.
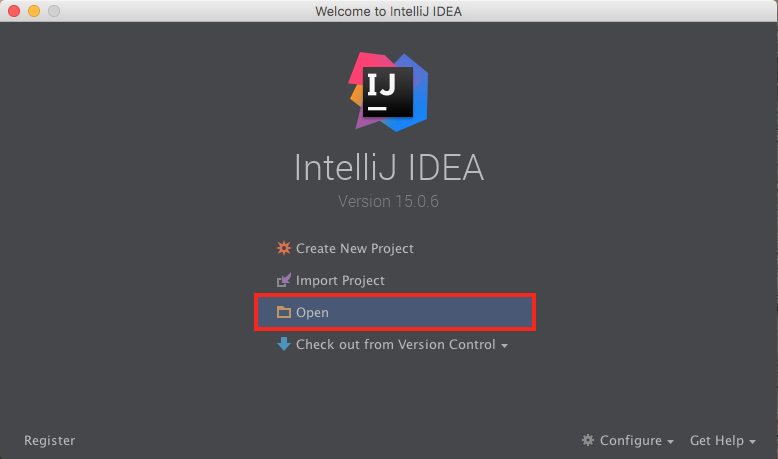
Import Porject를 선택해도 되지만 그냥 Open으로 기존에 생성했던 MyGame 프로젝트를 열어보겠습니다.
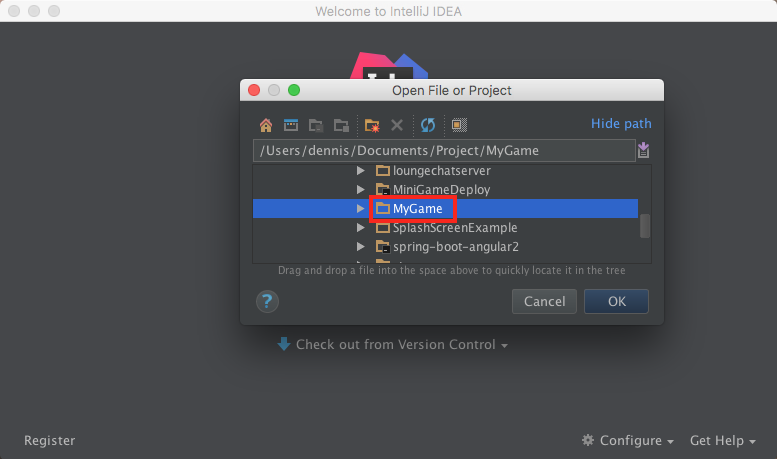
MyGame을 찾아서 OK를 누르게 되면 프로젝트가 열리고 Indexing 과정을 거쳐 개발을 할 수 있는 환경이 자동으로 구축됩니다.

프로젝트 루트의 index.html을 마우스 우클릭하여 Run을 실행하게 되면 IntelliJ가 임의의 포트를 사용하여 프로젝트를 실행해 주게 됩니다.
참고 : http://blog.revivalx.com/2014/06/21/setting-up-your-cocos2d-js-environment/