Cocoa Touch Framework가 자기 자신이 가진 이미지 리소스에 접근하기 위해서는 몇가지 추가적인 조치가 필요합니다. UIImage클래스가 가진 imageNamed 메소드를 사용하면 리소스의 이름만으로 이미지를 불러올 수 있지만 MainBundle 기준으로 동작하기 때문에 불러오지 못하는 경우가 발생합니다. 한번 확인을 해보도록 하겠습니다. 이 글은 [XCode 6 Framework 만들기]의 결과물을 활용합니다.
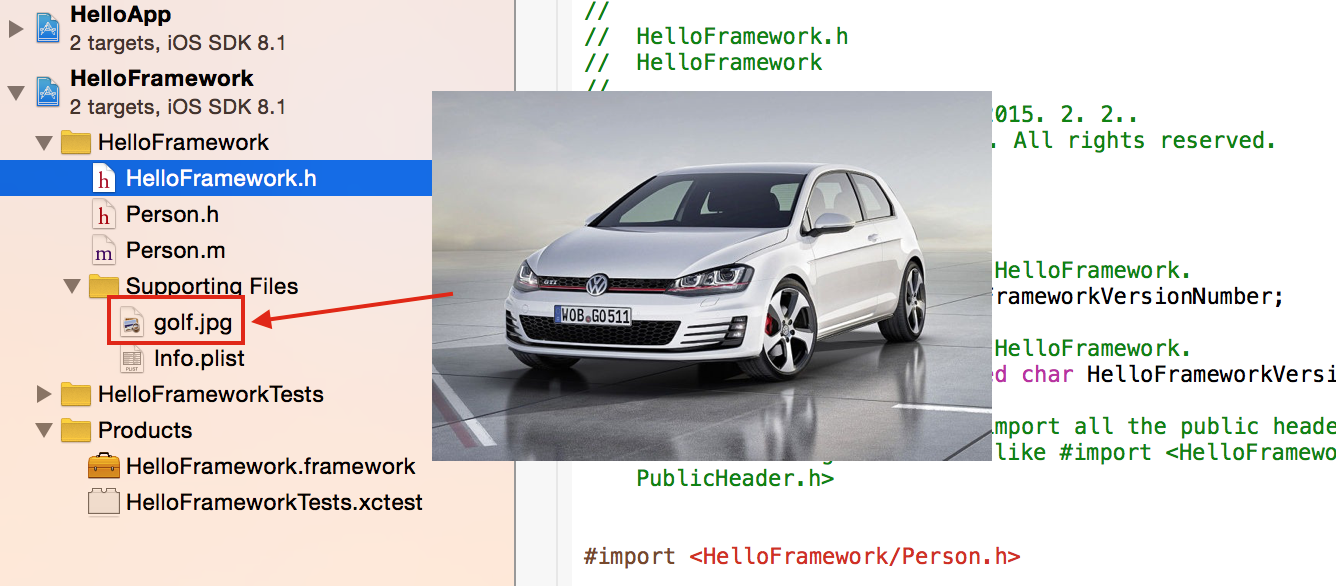
먼저 테스트로 사용할 이미지 파일을 추가합니다. 저는 골프GTI이미지를 사용해 보겠습니다. 그리고 Person 클래스에 간단하게 이미지를 반환하는 메소드를 추가해 보겠습니다.
#import <UIKit/UIKit.h>

@interface Person : NSObject

- (instancetype)initWithName:(NSString *)name age:(int)age;
- (void)info;
- (UIImage *)image;

@end
#import "Person.h"

@interface Person ()

@property(strong, nonatomic) NSString *name;
@property(nonatomic) int age;

@end

@implementation Person

- (instancetype)initWithName:(NSString *)name age:(int)age
{
    if(self = [super init]) {
        self.name = name;
        self.age = age;
    }
    return self;
}

- (void)info
{
    NSLog(@"The person's name is %@ and his age is %d", self.name, self.age);
}

- (UIImage *)image
{
    return [UIImage imageNamed:@"golf"];
}

@end
image라는 메소드를 하나 추가했습니다. 그 내용은 golf라는 이름의 이미지를 로드하여 반환다는것이 전부입니다. 이번에는 ViewController.m에 이미지를 받아 출력하는 코드를 추가합니다.
#import "ViewController.h"
#import <HelloFramework/HelloFramework.h>

@interface ViewController ()

@end

@implementation ViewController

- (void)viewDidLoad {
    [super viewDidLoad];
    // Do any additional setup after loading the view, typically from a nib.

    Person *person = [[Person alloc] initWithName:@"Hello" age:19];
    [person info];

    // 이미지를 화면에 출력합니다.
    UIImageView *imageView = [[UIImageView alloc] initWithImage:[person image]];
    [self.view addSubview:imageView];

}

- (void)didReceiveMemoryWarning {
    [super didReceiveMemoryWarning];
    // Dispose of any resources that can be recreated.
}

@end
이제 시뮬레이터 환경에서 한번 실행해 보도록 하겠습니다.
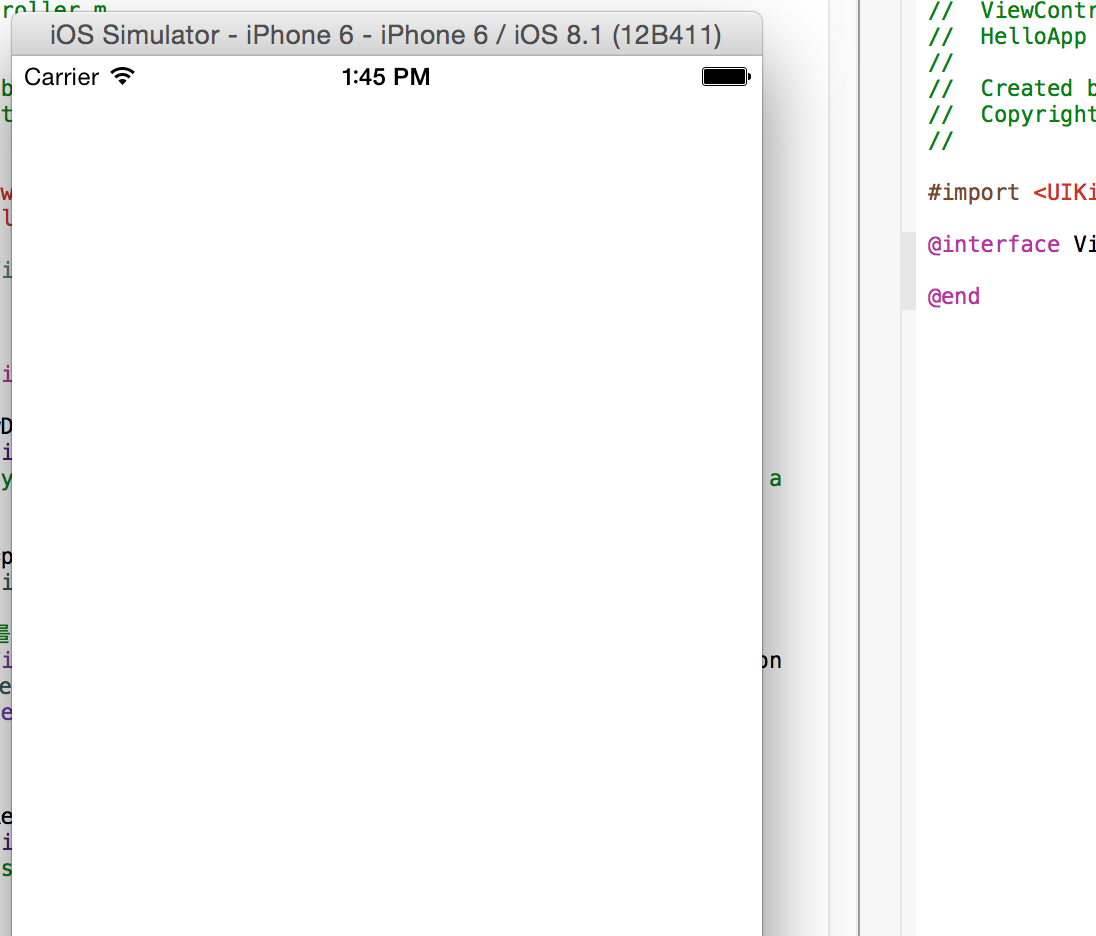
아무것도 화면에 출력되지 않는군요… 이미지를 정상적으로 로드하지 못하여 발생하는 문제입니다. MainBundle이 아닌 Framework의 Bundle에서 이미지를 읽어오도록 코드를 수정해 보도록 하겠습니다. Framework 프로젝트의 Person.m의 내용을 수정합니다. 수정후에는 Build를 수행하여 HelloApp 프로젝트에 적용하는것을 잊지 맙시다.
- (UIImage *)image
{
    NSBundle *frameworkBundle = [NSBundle bundleForClass:[self class]];
    return [UIImage imageNamed:@"golf" inBundle:frameworkBundle compatibleWithTraitCollection:nil];
}
위와 같은 방법으로 Framework 자기 자신의 Bundle에 속해있는 리소스에 접근할 수 있게 됩니다. 하지만 위의 API는 iOS 8부터 지원하는 API이므로 적절하지 않아 보입니다. 버전에 구애받지 않고 사용할 수 있는 방법은 다음과 같은 방법이 있습니다.
- (UIImage *)image
{
    NSBundle *frameworkBundle = [NSBundle bundleForClass:[self class]];
    NSString *imagePath = [frameworkBundle pathForResource:@"golf" ofType:@"jpg"];
    return [UIImage imageWithContentsOfFile:imagePath];
}
이제 확인을 해보겠습니다. 다시 한번 Framework를 빌드하고 시뮬레이터를 실행해 보겠습니다.
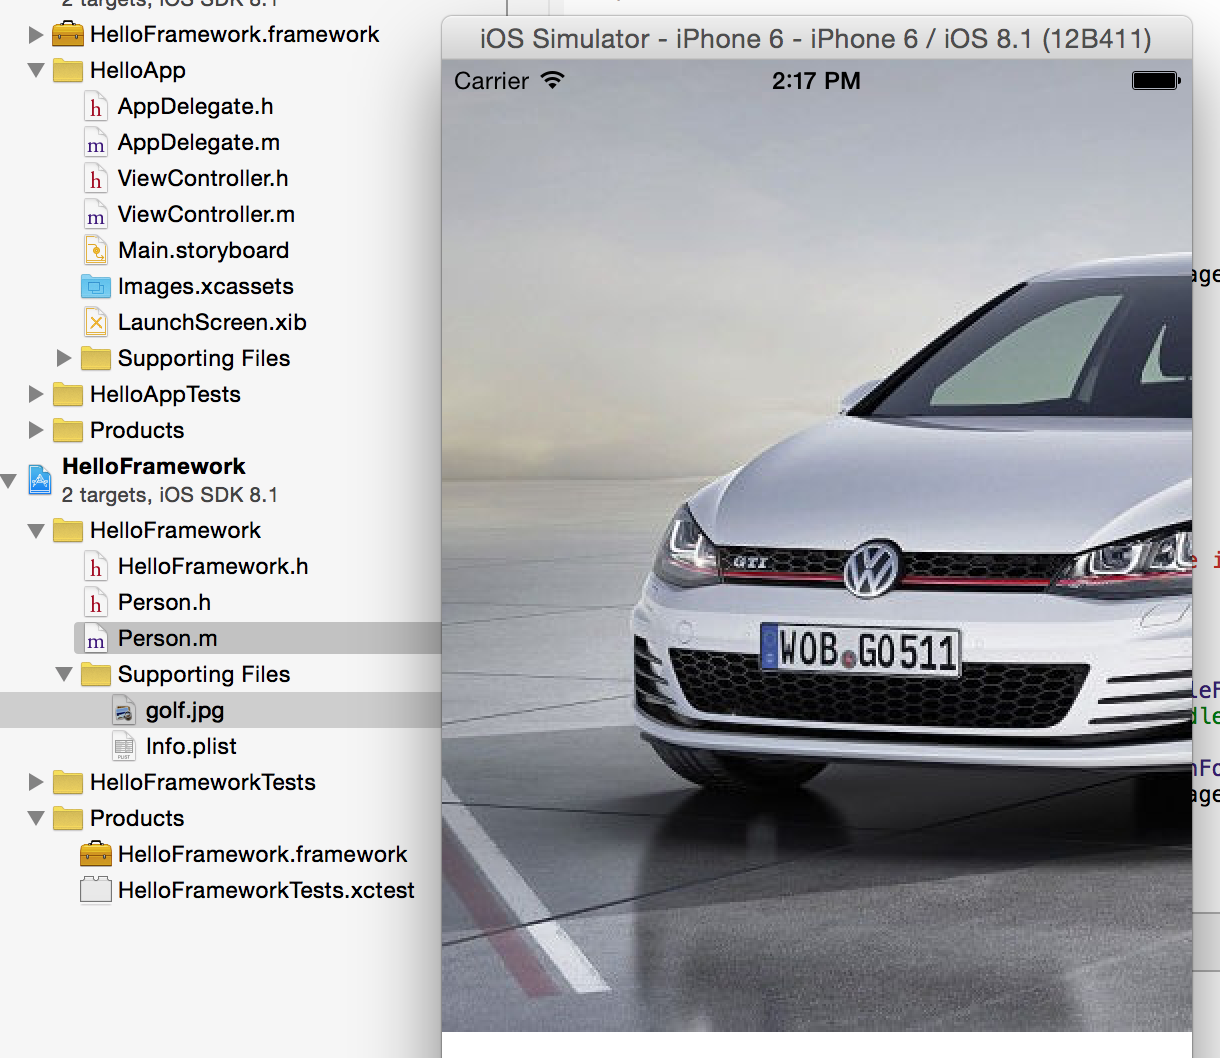
크기가 적절하게 이쁘게 나오지는 않았지만 정상적으로 이미지가 출력되는것을 확인할 수 있습니다. 하지만 레티나 이미지(@2x)를 구별하여 이미지를 로드하게 하려면 좀 더 추가적인 작업이 필요합니다.
#import <UIKit/UIKit.h>

@interface UIImage (Bundle)

+ (UIImage*)imageNamed:(NSString *)imageName bundle:(NSBundle*)bundle;

@end
#import "UIImage+Bundle.h"

@implementation UIImage (Bundle)

+ (UIImage*)imageNamed:(NSString*)imageName bundle:(NSBundle*)bundle
{
    // Extract base name and extension
    NSString* imageBaseName = [imageName stringByDeletingPathExtension];
    NSString* imageExt = [imageName pathExtension];
    if (!imageExt.length) imageExt = @"png";

    NSString* imagePath = nil;

    // Try retina version if available
    BOOL isRetina = ([[UIScreen mainScreen] scale] == 2.0);
    if (isRetina)
    {
        NSString* retinaImageBaseName = [NSString stringWithFormat:@"%@@2x", imageBaseName];
        imagePath = [bundle pathForResource:retinaImageBaseName ofType:imageExt];
    }

    // If not a Retina screen or retina image not found, try regular image
    if (!imagePath)
    {
        imagePath = [bundle pathForResource:imageBaseName ofType:imageExt];
        isRetina = NO;
    }

    // Build the image
    UIImage* image = [UIImage imageWithContentsOfFile:imagePath];
    // If retina version, set the scale appropriately
    if (isRetina)
    {
        image = [UIImage imageWithCGImage:image.CGImage scale:2.0 orientation:UIImageOrientationUp];
    }

    return image;
}

@end
이런식으로 카테고리를 만들어 사용하면 용이할 것 같습니다. [출처]

 어이쿠, 꽃보다 남자의 이미지가 아이팟의 가로길이인 320보다 커서 좀 짤렸네요;; 미안하다 잔디야~ㅠㅠ